Get Salon Results with Non-Acid Nail Dehydrator
Step-by-step guide to using a non-acid nail dehydrator for longer-lasting acrylics, gels, and press-ons—salon-grade prep at home or in the studio.
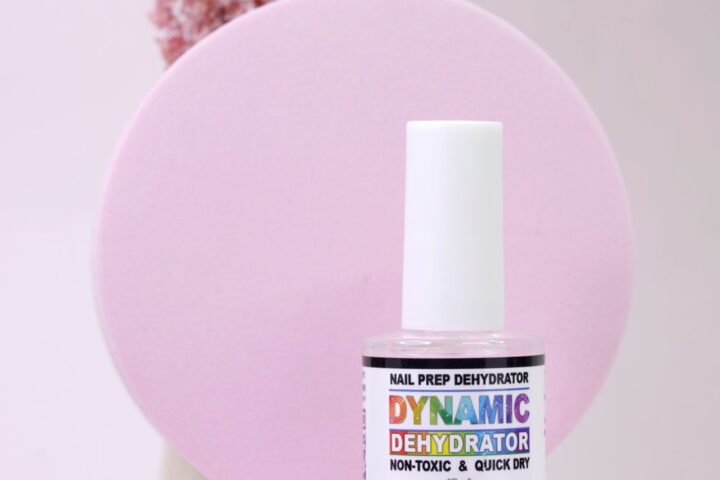
Prep is the invisible difference between a set that lifts in a week and a set that lasts. A high-quality, non-acid nail dehydrator removes oils and moisture, balances pH, and creates the ideal surface for adhesives and overlays. This guide walks you through a professional prep routine using a compact 15ml bottle so you can get consistent, long-lasting results at home or in the salon.
Why non-acid prep matters
Many nail services fail because the natural nail plate retains oil or moisture that weakens adhesion. A non-acid, pH-balancing formula removes surface oils without harsh acid exposure. That gentle approach helps protect the natural nail while creating the dry, uniform surface needed for acrylics, gels, and press-ons.
What to expect from this product
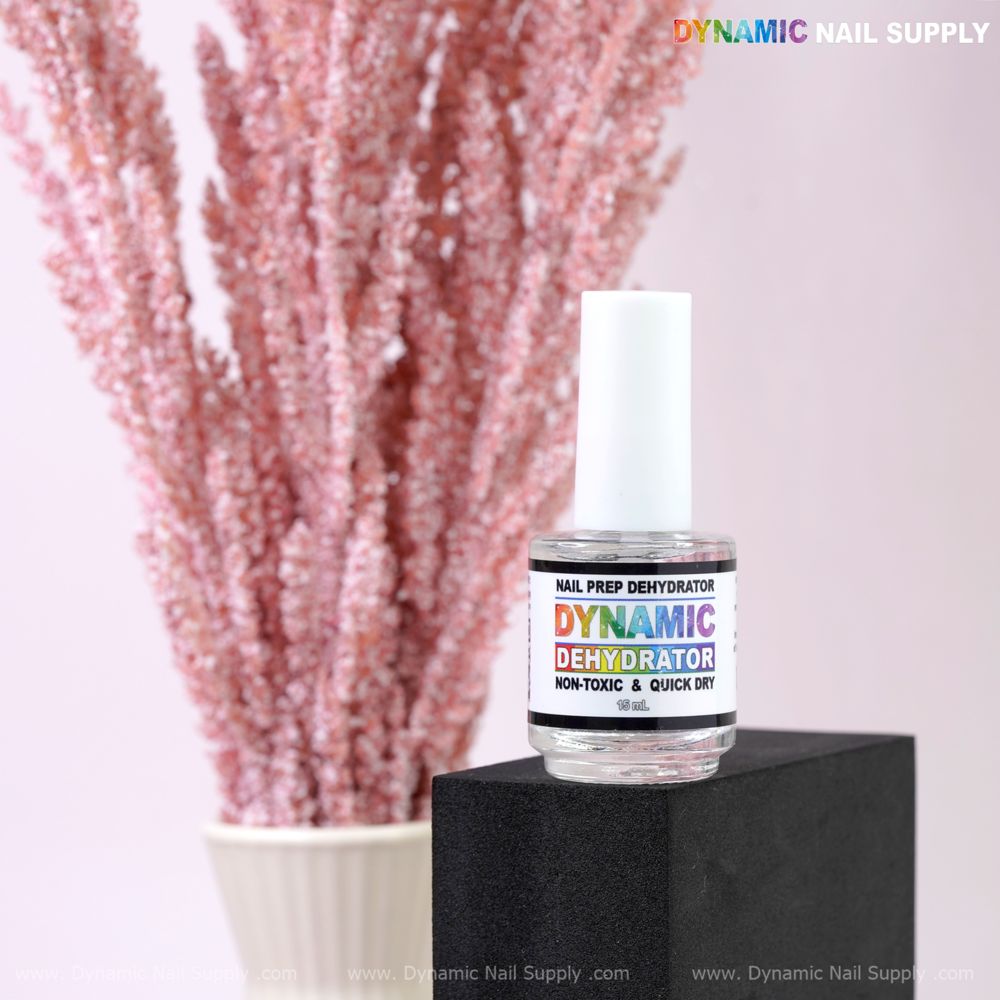
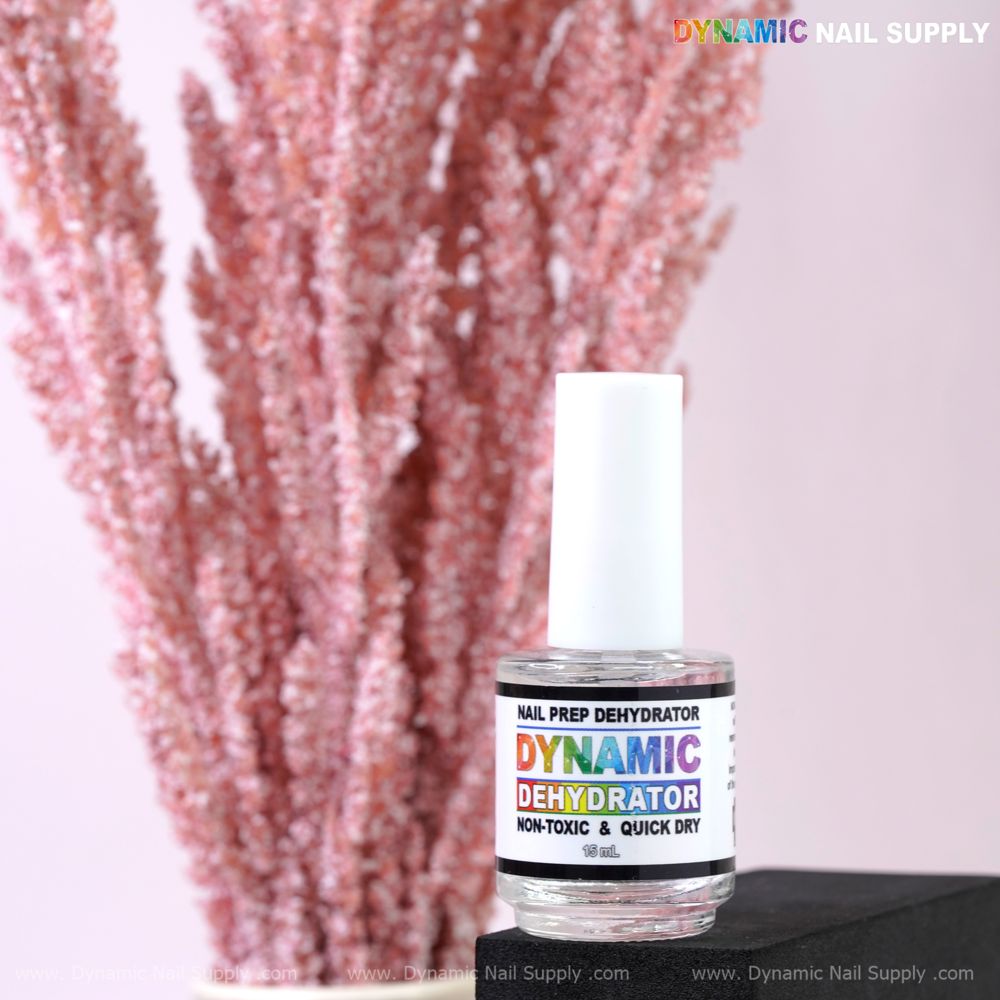
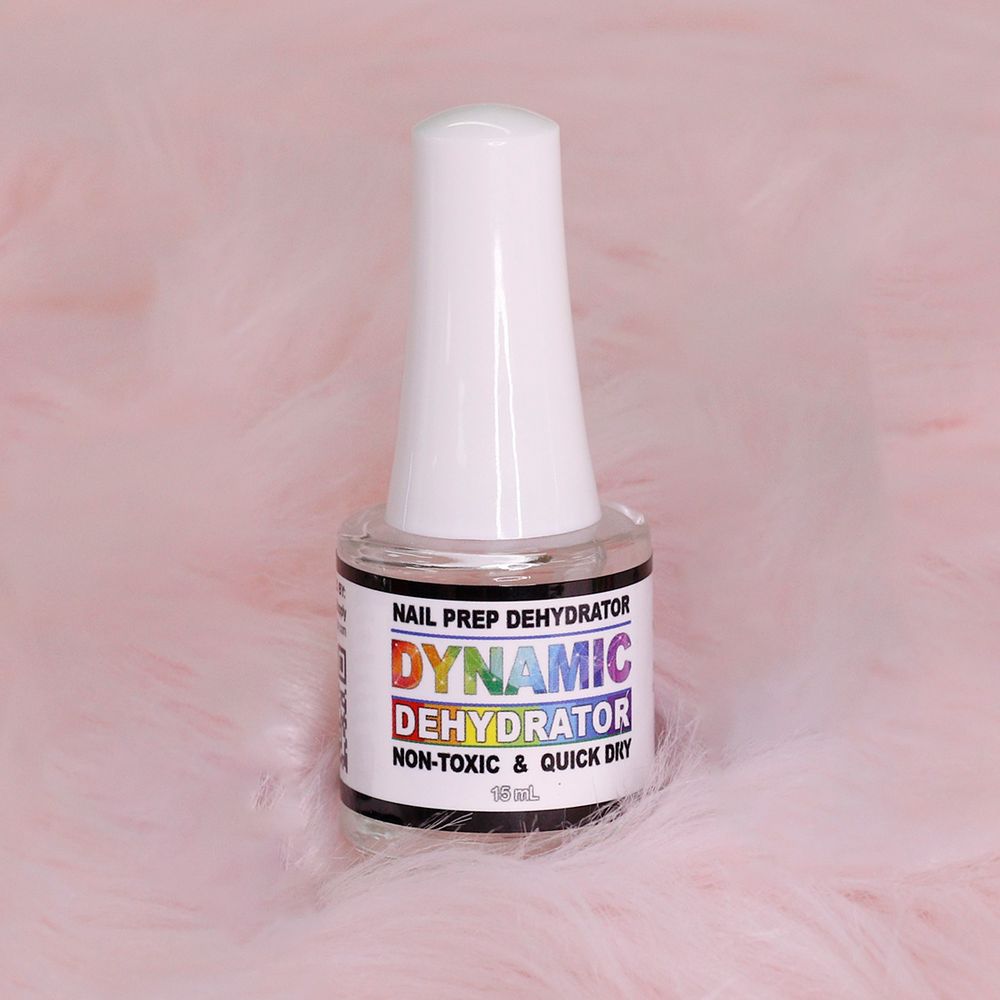
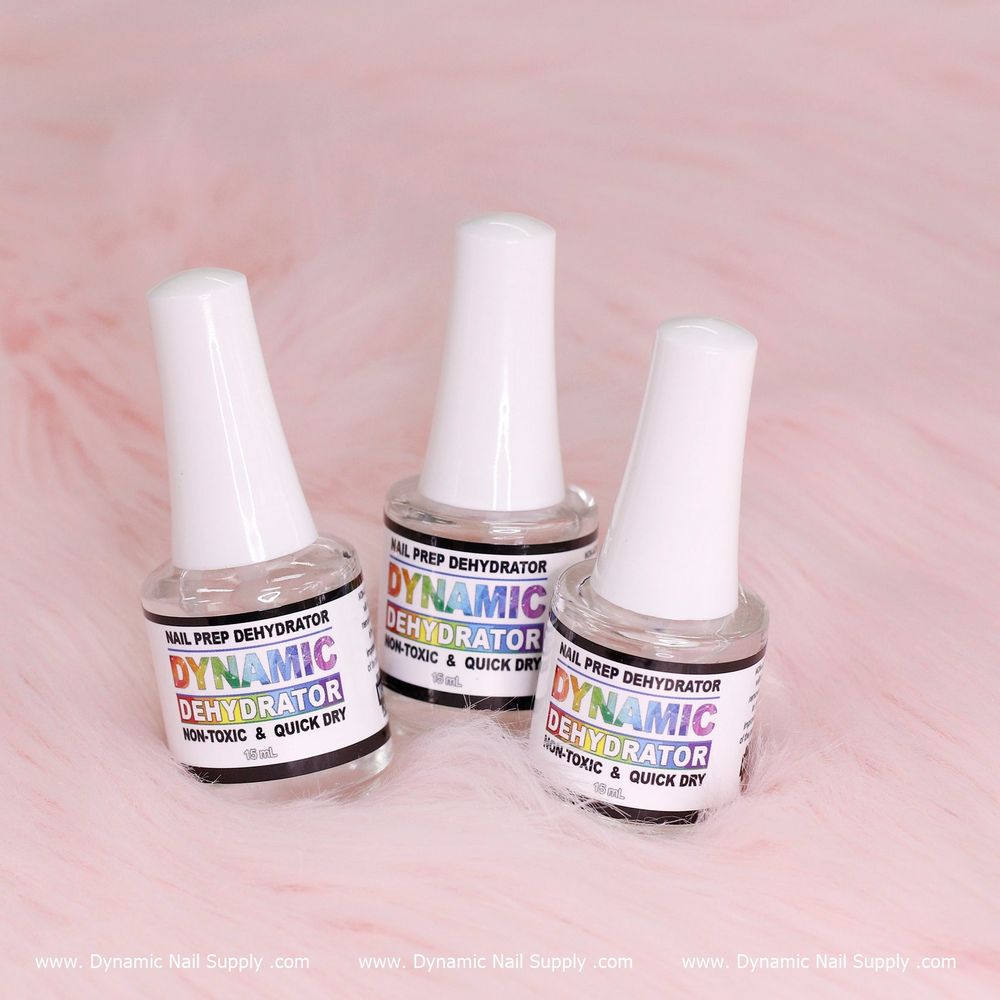
This professional nail dehydrator comes in a 15ml bottle and is formulated to be quick-drying and oil-free. It’s compatible with leading systems and powders and is intended to be used before bonding steps—such as with Dynamic Max Bond or your preferred primer—to reduce lifting and improve set longevity.
Step-by-step salon routine (quick and repeatable)
- Clean and shape: Remove old polish and file to the desired free edge and shape. Gently push back cuticles and ensure no debris remains.
- Buff lightly: Use a fine buffer to even the nail surface but avoid over-thinning the plate.
- Apply the dehydrator: Shake or mix if needed, then brush a thin coat across each nail plate. Let it air-dry—this formula dries in seconds.
- Prime within the window: For best adhesion, apply your bonding product within one minute of using the dehydrator.
- Proceed with your service: Follow with acrylic application, gel polish, extensions, or press-ons as usual.
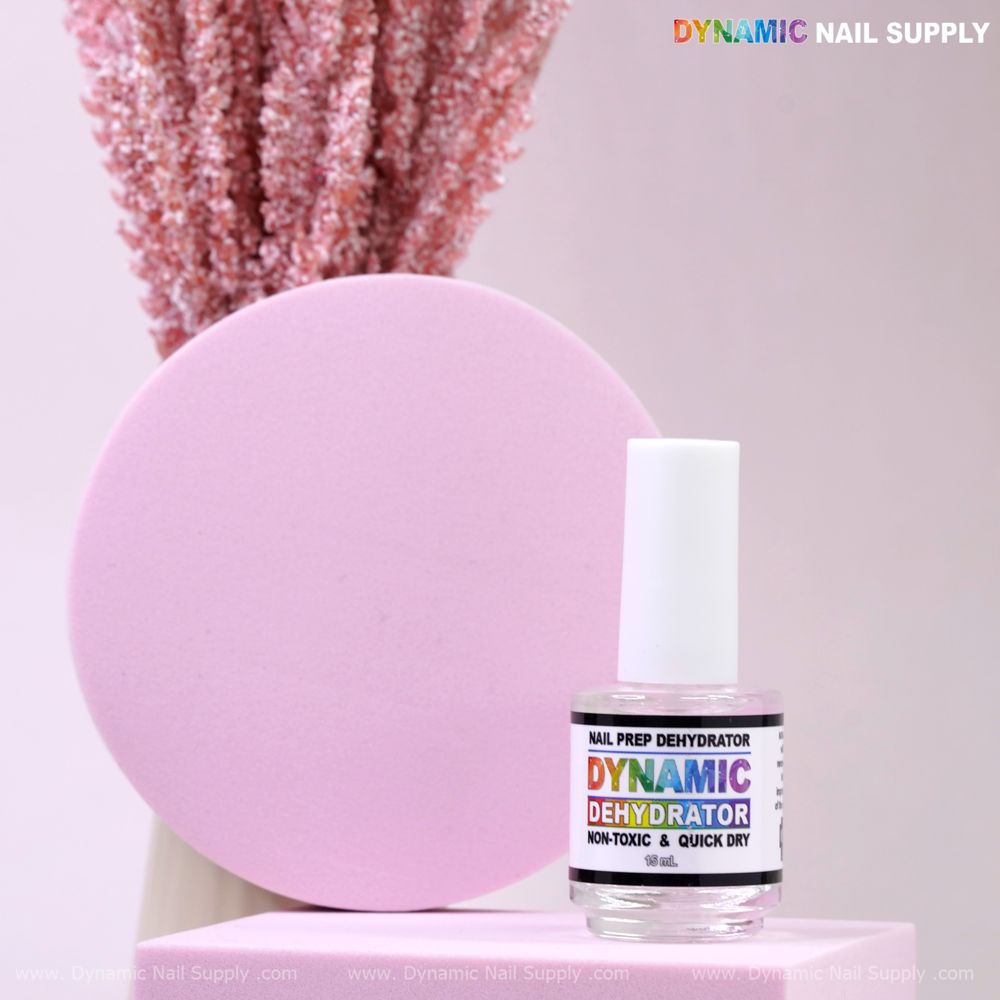
If you prefer a compact bottle for travel or touch-ups, the 15ml bottle professional nail dehydrator fits easily into a kit.
Practical tips for at-home and salon use
- Use a thin coat: Over-application can leave residue; a light film is all that’s needed to remove oil and moisture.
- Timing matters: The dehydrator dries quickly—allow around ten seconds of air-dry time, then apply your primer within one minute for optimal bonding.
- Combine properly: This product is designed to be used before a bond or primer for best results; when used in that order it helps reduce lifting across acrylics, gels, and press-ons.
- Work methodically: Prep nails in batches if you’re doing a full set, so that each nail receives the primer within the effective window after dehydration.
Key features in context
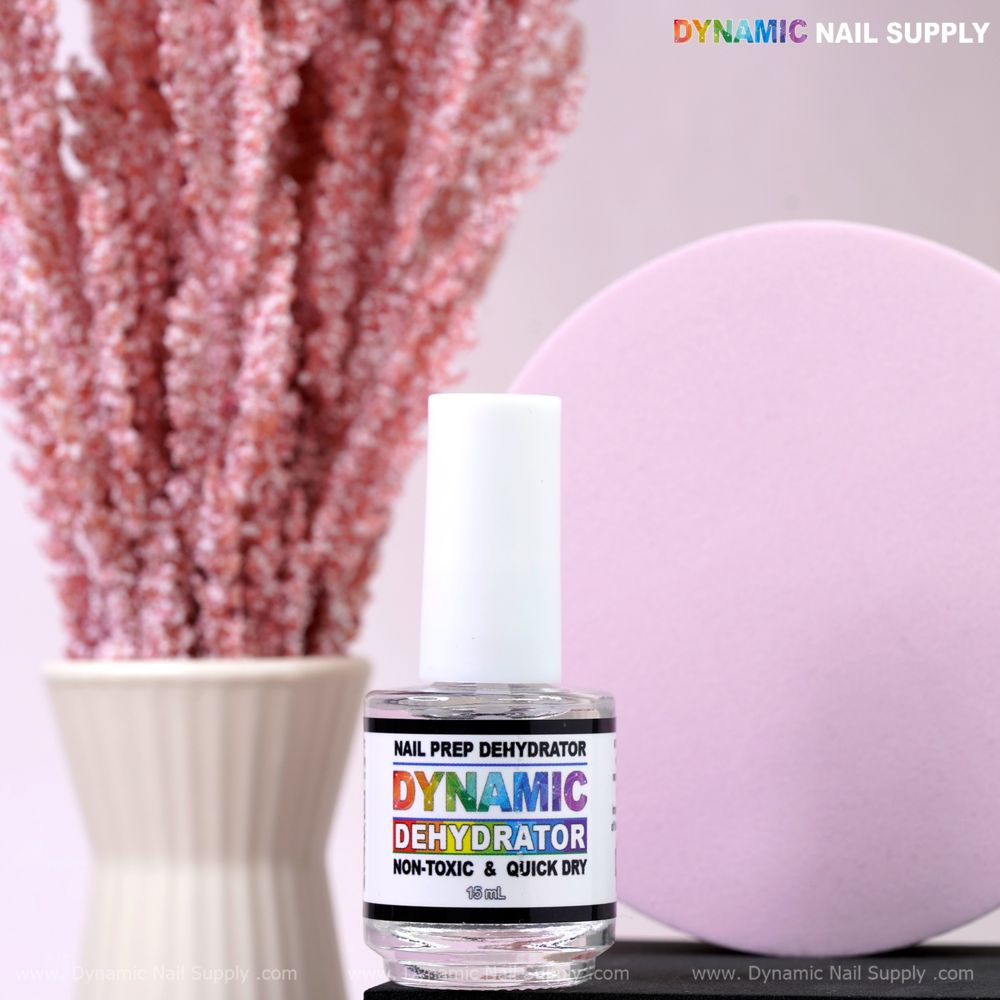
- Non-acid, pH-balancing formula: Protects the natural nail while preparing the surface for adhesives.
- Oil-free prep: Effectively removes excess surface oils to improve adhesion.
- Quick-drying: Speeds up your workflow—dries in seconds so you can move to bonding without delay.
- Versatile use: Suitable for acrylics, gel polish, gel extensions, and press-on nails; compatible with all brands.
- Salon and home friendly: Compact 15ml size makes it easy to stock in a professional kit or keep for personal use.
Who should use this dehydrator?
This product is a fit for nail technicians who need a gentle, fast-acting prep step that plays well with most bond systems. It’s also great for at-home enthusiasts who want salon-quality adhesion and prefer a non-acid option. Because it works with acrylics, gels, and press-ons, it’s a universal prep item for mixed-service studios.
Care and safety notes
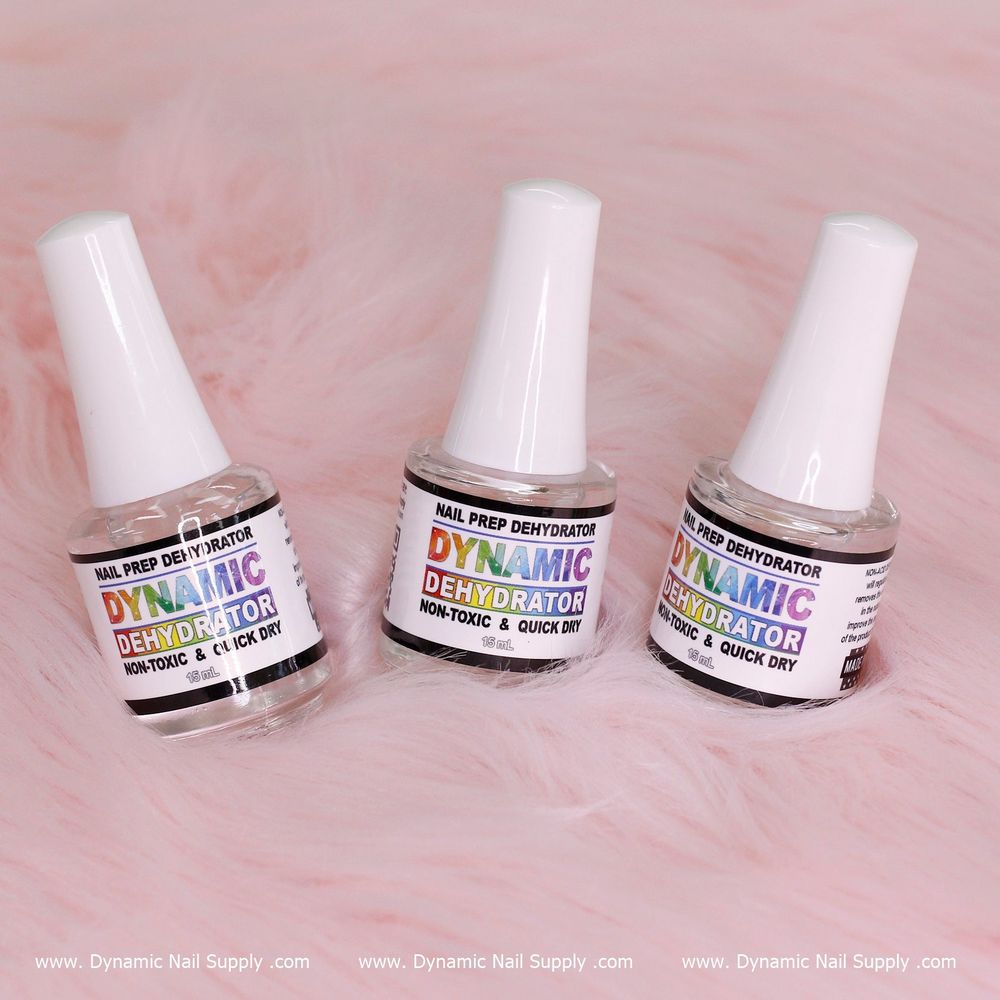
Always perform a skin patch test before first use and discontinue if irritation occurs. The formula is non-acid and gentle on the nail plate, but it’s intended for external application only. Keep the bottle capped when not in use and store at room temperature out of direct sunlight. If you have specific concerns about nail health, consult a professional technician.
Final setup checklist
- Clean, filed, and cuticle-prepped nails
- Light buff to even the surface
- Thin coat of non-acid dehydrator and ~10 seconds air dry
- Apply bond/primer within one minute
- Proceed with your chosen overlay or press-on application
When used as part of a disciplined prep routine, a non-acid, pH-balancing dehydrator creates the foundation for longer-lasting sets and fewer lift issues. The 15ml professional option is a convenient, salon-ready choice available through Dynamic Nail Supply and is priced around $5.00—prices may change. With careful application and the timing tips above, you can achieve professional results whether you’re in the studio or at home.